Steps To Creating A New Foundation For Outdoor Garage
Usama Ijaz • February 20, 2022

The new season is a great reason to make and keep resolutions. Whether it’s eating right or cleaning out the garage, here are some tips for making and keeping resolutions.

A strong garage must be developed on a good foundation. Preparing and laying a garage base is normally something that homeowners would rather leave to the experts. Like any other structure, a new garage foundation is essential to the structural integrity of the building above: a good foundation will last for years, but a bad one will bring a lot of problems later on.


Laying the
foundation for a garage is rarely considered a do-it-yourself task since it involves the meticulous design, respect for local regulations, and careful consideration of future uses for the final area. During the foundation phase of the garage, amenities such as a filtered drainage system and radiant floor heating must be implemented. Prepare for inspections along the route.


What is Garage Foundation?


A garage foundation is a concrete block upon which a structure is built. It is the physical canvas or ground on which any edifice is built. The foundation evens out the ground, preventing your building from collapsing. Garage foundations are usually made up of poured concrete ground or walls.


You can build a strong foundation for your outside garage by following these seven simple steps. Every time you park your car, you will be proud to know that you poured your own garage foundation. So, let's begin with step 1.


Site Preparation

Visit your local municipal authorities and request that any gas, power, or telephone lines near your construction site be marked. Hence, you know where you can safely dig. Layout the border of your garage with a white line. Mark the footprint with thread and wooden stakes pushed into the earth at the edges. The quantity of materials required is determined by the size of the project. Make a note of the measurements and visit a specialist at your hardware store.


Dig Trenches

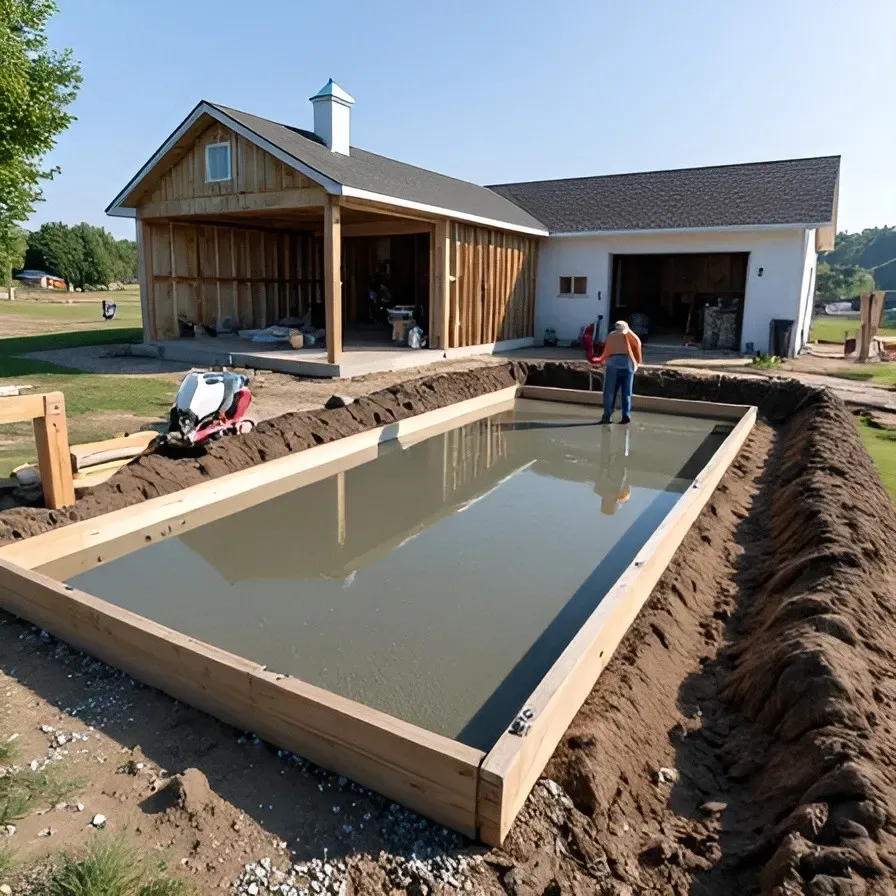
Dig trenches around the perimeter of your garage for your footings. Local construction requirements will specify the lowest depth and width of your trenches. Still, overall, the trenches should be at least 12 inches - 18 inches broad and at least 18 inches deep. (In regions where the earth freezes, the code may require footings to be at least 48" below ground level to be below the "frost line" and keep the concrete from shifting.) Remove 3" to 4" of soil from the floor area while excavating the footings to allow the concrete pad.


Put Wooden Forming Boards

Place the wooden forming boards in the footing trenches, using wooden pegs to keep them in place. (These planks will be moved once the footings are in place.)


Put Rebar

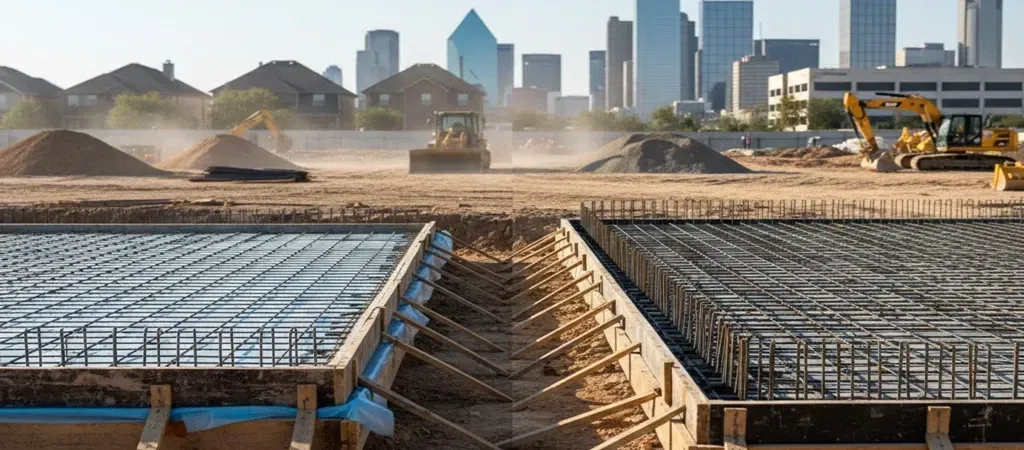
Put 1/2" rebar horizontally on all footings, using rebar chairs to keep the rebar three inches away from the trench's bottom edge.


Pour the Concrete

Prepare the concrete for the footings, and then attach rebar every 12 to 16 inches, reaching vertically 8 to 10 inches above the surface, after the concrete has been poured but before it has set. This will connect the foundation walls and footings.


Creating Foundation Walls

Foundation walls are normally 8 to 10 inches high and centered on the footings. Install rebar horizontally in the foundation walls both before and after the concrete is poured. Then, put anchor bolts two to three inches above the surface into the wet concrete to support the sill plates of the wooden garage walls.


Concrete Floor

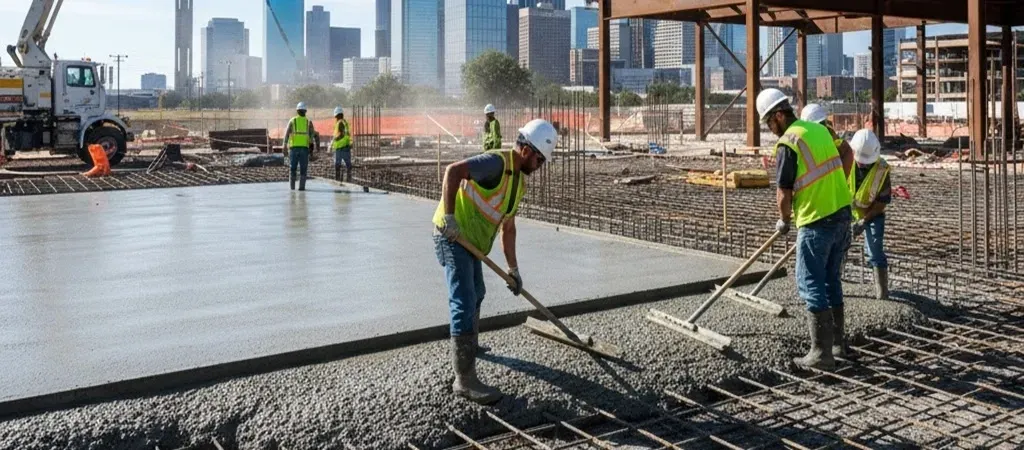
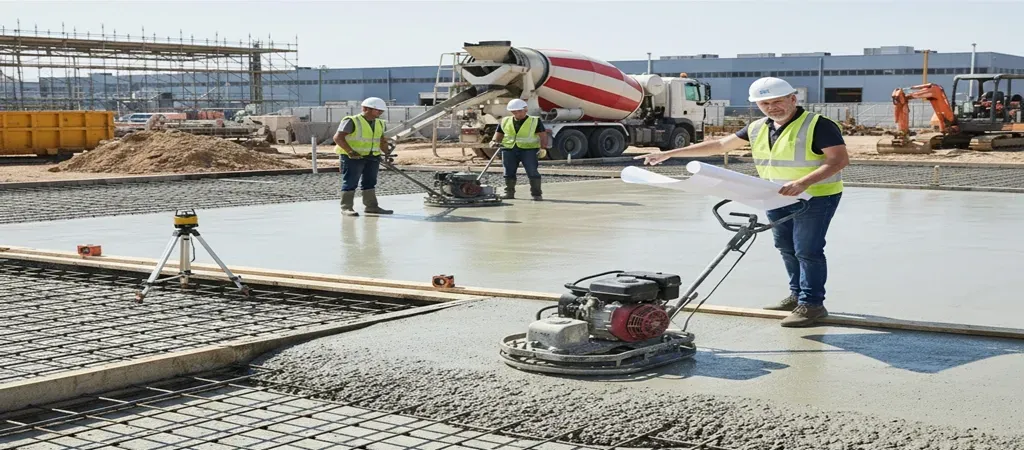
Apply a 2- to 3-inch sand or fine gravel layer and compact it. Put a vapor barrier over the sand/gravel layer to keep moisture from your finished garage. Then, rebar in a grid pattern 16 inches on the center across the floor to support your concrete pad. After pouring concrete into the floor area, use a long 2x4 to level the surface and produce a somewhat rough surface that is not too slippery to walk on.


The Drip Cap

  1. Pouring a solid garage foundation is critical to constructing a stable garage.
  2. Ensure precision when laying the rebar to ensure that your garage walls do not collapse in the event of an earthquake.
  3. According to your plans, shovel out the earth from inside the layout, 1 foot wide by 18 inches deep.
  4. Put the same rebar on top of the footing, maintaining it 3 inches away from the ground and air.
  5. These bolts will hold the sill plates in place when the moment arises.

Conclusion

You can create a garage foundation if you keep these recommendations in mind. But, keep in mind that you are not required to accomplish it alone. A contractor may assist you in obtaining the foundation you require without all of the worry and work that comes with doing it yourself.


By rachelle madula April 28, 2025
Concrete driveways are everywhere. They are durable and functional. But here’s a question many overlook. How much water gets in? That’s where concrete permeability comes in. It sounds technical but is actually simple. And understanding it can save you money and time. Let’s break down what concrete permeability is. We’ll explore why it matters and how it impacts your driveway. What Is Concrete Permeability? Think of concrete as a giant sponge. It feels rock solid but it has tiny pores. Concrete permeability is a fancy way to measure how easily liquids can pass through pores. Let’s say your concrete driveway is less permeable. It will be harder for water to get in which is a good thing! Water sneaks into your driveway and can cause cracks. Potholes. And other nasty surprises. It’s like leaving the front door open during a storm. Not ideal, right? What Makes Concrete Permeable? Not all concrete is mixed the same way. Some driveways stay strong for decades. While others crumble after a couple of winters. The difference? Permeability. Let’s break down the main culprits: 1. Water-Cement Ratio Concrete is a mix. Cement. Water. Sand. And aggregates. The amount of water compared to cement plays a huge role. Too much water creates more pores. That makes the concrete more permeable. Think of it as adding too much milk to your oatmeal. It just doesn’t hold together as well. 2. Quality of Aggregates Aggregates are the rocks and stones mixed into concrete. If they’re uneven or poorly chosen, they leave gaps. High-quality aggregates fit together like puzzle pieces. That reduces those pesky pores. 3. Curing Process Curing is like giving your concrete a good night’s sleep. Proper curing means keeping it moist and cool. It strengthens the concrete and closes up its pores. Rushed curing? That’s like skipping your morning coffee. A disaster waiting to happen. Why Should You Care About Permeability? You might be wondering, “Why does this even matter? My driveway looks fine!” Well, permeability plays a big role in your driveway’s durability. It also affects maintenance needs and overall lifespan. Extending lifespan by addressing common concrete issues —like high permeability—is one of the smartest ways to protect your investment. Durability and Longevity The water is sneaky. If it gets inside your concrete and freezes, it expands. This leads to cracks and potholes over time. Driveways with low permeability? They don’t let water in, so they last much longer. Resistance to Weather Concrete faces all kinds of abuse. Rain, snow, ice, heat, and even de-icing salts. Low-permeability concrete acts like a shield. It stands strong against these elements. High-permeability concrete? It wears down faster like a sweater with holes. Lower Maintenance Costs Cracks and repairs add up. Choosing a low-permeability driveway means fewer issues, helping with maintaining concrete health over the long term. That saves you from costly fixes. Think of it as buying a quality coat, it costs more upfront but saves you in the long run. How Do Experts Measure Concrete Permeability? Want to know how “watertight” your driveway is? Experts use these common tests: Rapid Chloride Permeability Test : It measures how easily chloride ions can sneak into concrete. If they move in quickly, the concrete is too permeable. Water Absorption Test : This test is like giving your driveway a sponge bath. The less water it absorbs, the better its permeability rating. Can You Reduce Permeability? Absolutely! The good news is that you can control concrete permeability. Here’s how to make sure your driveway stays strong and durable: 1. Get the Mix Right Use the right water-cement ratio. A lower ratio creates denser concrete, reducing permeability. Think of it as baking a cake—you need the right balance for the perfect texture. 2. Use Quality Materials High-quality aggregates make a world of difference. Look for smooth, uniform materials to keep your concrete compact. 3. Don’t Rush Curing Let your concrete “rest” properly. Keep it moist for at least a week to strengthen it. It’s like letting bread rise—patience pays off. 4. Add Admixtures Admixtures are like performance enhancers for concrete. They help fill pores and boost water resistance. Ask your contractor about options like silica fume or waterproofing agents. Why a Low-Permeability Driveway Is Worth It Investing in low-permeability concrete might sound like a luxury. But it’s actually smart. Here’s why: Longer Lifespan . Your driveway will stand the test of time. Even in harsh weather. Fewer Repairs . No more filling cracks. Or patching holes every few years. Peace of Mind . You’ll sleep better! Knowing your driveway can handle whatever Nature throws at it. Conclusion Understanding concrete permeability ensures durability. It helps your driveway last decades. Not just years. When you see someone’s cracked driveway, you’ll know why it happened. And when planning your own, you’ll ask the right questions. Choose low-permeability concrete and quality materials. Don’t skip proper curing. It’s essential for strength. A great driveway isn’t just about looks. It’s built to stand strong through any weather. That’s the kind of driveway worth investing in.
laying ceramic tiles
By Kurt Manalastas January 6, 2025
Discover how stamped concrete enhances your driveway's appeal with durability, low maintenance, and a variety of stylish designs. Perfect for any home!
concrete driveway with green grass beside
By Usama Ijaz December 20, 2024
Transform your concrete driveway with unique designs, finishes, and techniques that add style, durability, and value to your home. Learn how to elevate it today!
concrete driveways
By Usama Ijaz December 11, 2024
Explore the benefits of self-healing concrete and find out if it's the perfect choice for your Dallas concrete driveway.
hands of a concrete driveway contractor
By Usama Ijaz December 3, 2024
Learn how to install a Dallas concrete driveway with this easy step-by-step guide. Perfect for DIY enthusiasts and first-time installers.
hardworking people mixing cement
By Usama Ijaz November 18, 2024
Learn the best concrete mix tips for building a durable and long-lasting driveway in Dallas. Ensure strength and quality with expert advice!
a man preparing the area for concreting
By Usama Ijaz November 15, 2024
Learn proper site preparation techniques for concrete construction. Dallas contractors share expert tips for a strong and lasting foundation.
fresh concrete under the sun
By Kurt Manalastas October 22, 2024
Explore the pros and cons of using pervious concrete for Dallas driveways, including its eco-friendly benefits, durability, and maintenance needs.
pavers lays paving stones
By Kurt Manalastas October 10, 2024
Learn how to tackle common issues in Dallas concrete driveway installation, from weather concerns to soil conditions, for a smooth, durable finish.
construction worker laying pavers stone base daytime
By Kurt Manalastas September 4, 2024
Boost the lifespan of your Dallas concrete driveway with expert tips on maintenance and durability, ensuring long-lasting results.
More Posts